Party hairstyle for women
👧HAIRSTYLES✂
Here are 10 party hairstyles along with step-by-step instructions:
1. Classic Updo:
- Brush your hair to remove any tangles and ensure it's smooth and manageable.
- Create a center or side part, depending on your preference and the style you want to achieve.
- Take a small section of hair near the front and gently backcomb it to add volume and texture. This step is optional but can help create a fuller-looking updo.
- Gather all your hair at the nape of your neck, as if you were creating a low ponytail.
- Twist the hair upward, wrapping it around itself to form a bun. Hold the bun in place with one hand.
- Use bobby pins to secure the bun in place. Insert the pins vertically into the bun, making sure they go through the hair and anchor it securely.
- Once the bun is secure, gently pull out a few strands or wisps of hair near your ears or hairline to create a softer, more romantic look.
- If you have long or thick hair, you may need to use additional bobby pins to secure any loose sections or flyways.

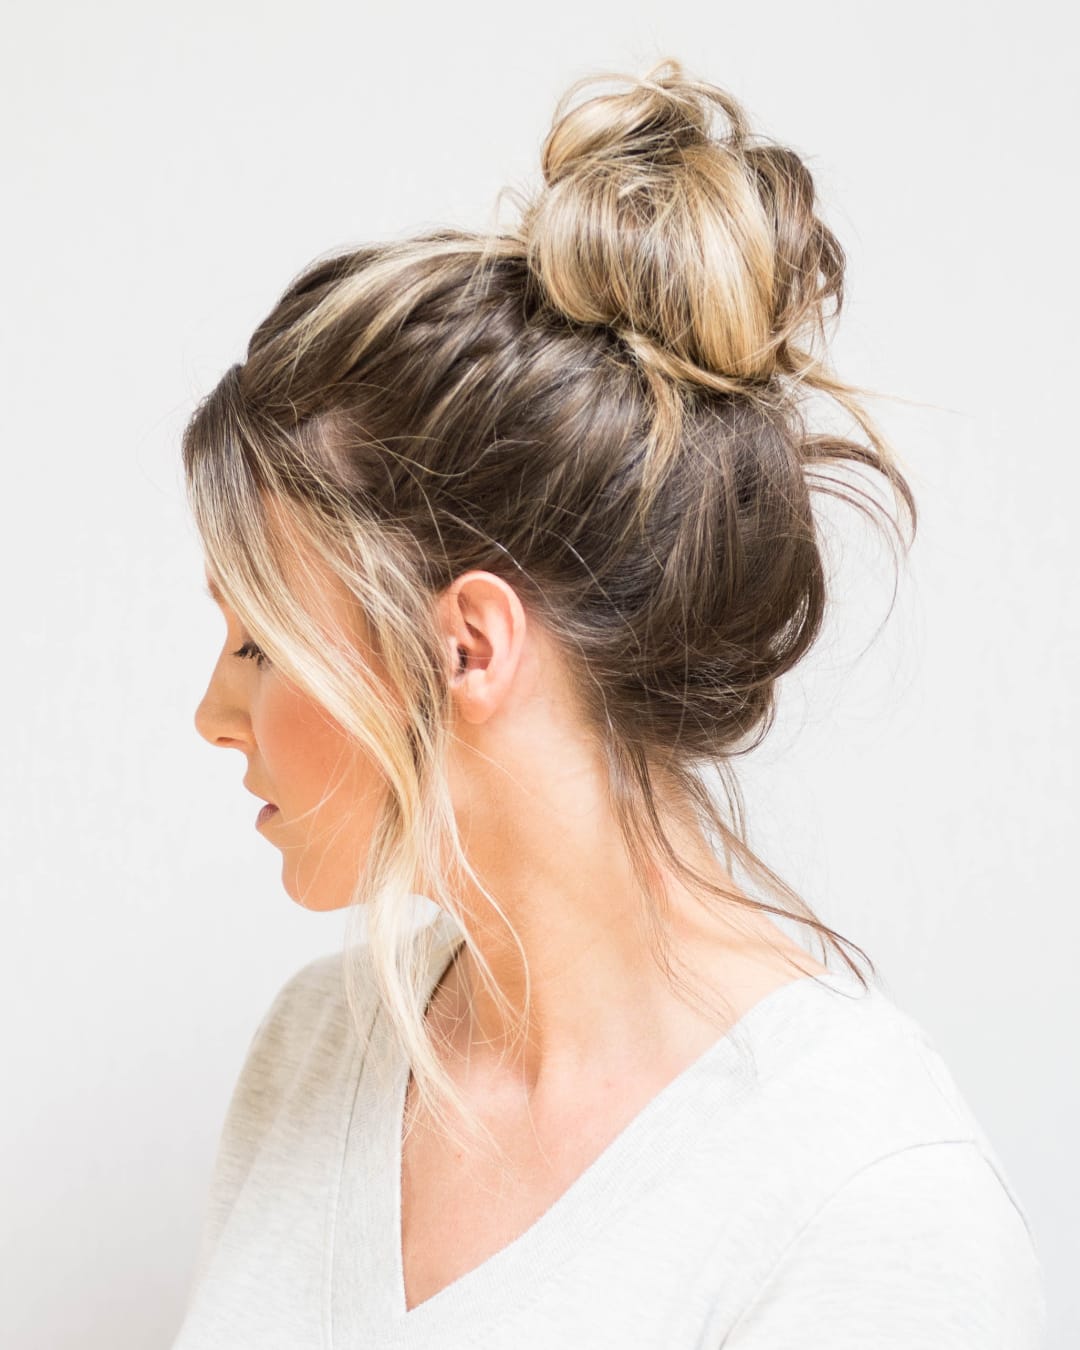
2. Messy Bun:
- Flip your head upside down and brush your hair to remove any tangles.
- Gather all your hair at the top of your head, as if you were going to tie a high ponytail.
- Twist the hair loosely to form a bun shape.
- Secure the bun with an elastic band, wrapping it around the base of the bun.
- To create a messy look, gently tug on a few strands around the bun to loosen them.
3. Side Swept Curls:
- Start with dry, styled hair, or use a curling iron to create loose curls throughout your hair.
- Create a deep side part on one side of your head.
- Sweep all your hair to the opposite side, gathering it just below your ear.
- Use bobby pins to secure the hair at the back of your head, ensuring it stays in place.
- To add volume and create a romantic look, gently tug on a few strands near the crown of your head.
4. Fishtail Braid:
- Brush your hair to remove any tangles and divide it into two equal sections.
- Take a small strand from the outer edge of one section and cross it over to the other section.
- Repeat this process on the other side, taking a small strand and crossing it over to the opposite section.
- Continue alternating sides, crossing small strands over until you reach the end of your hair.
- Secure the braid with an elastic band and gently pull on the edges of the braid to loosen it and create a fuller, textured look.

5. Half-Up Twist:
- Start with dry, styled hair, or use a curling iron to add loose curls or waves to your hair.
- Take a small section of hair from one side of your head, near your temple.
- Twist the section of hair away from your face, pulling it towards the back of your head.
- Secure the twisted section with bobby pins, placing them horizontally to ensure a secure hold.
- Repeat the process on the other side, twisting the section of hair away from your face and securing it with bobby pins at the back of your head.
- For an extra glamorous touch, you can add a decorative hair clip or a flower where the twists meet at the back.


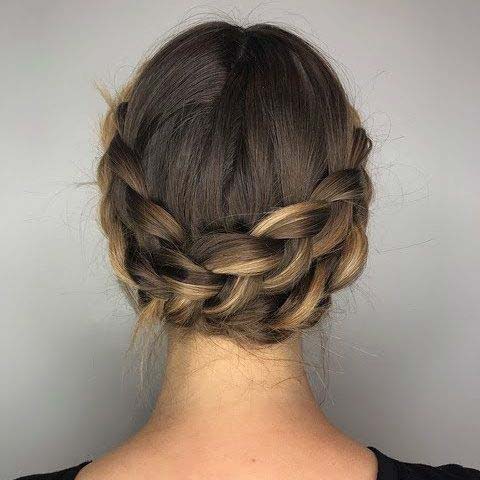
6. Braided Crown:
- Start by parting your hair in the middle or on one side, according to your preference.
- Take a small section of hair from one side, close to your hairline, and divide it into three strands.
- Begin braiding the hair, crossing the outer strand under the middle strand and then the other outer strand under the middle strand.
- As you continue braiding, gradually incorporate more hair from the same side, picking up small sections and adding them to the outer strands before crossing them under the middle strand.
- Once you reach the back of your head, secure the braid temporarily with a small hair elastic or clip.
- Repeat the process on the other side.
- Bring the first braid across the back of your head and secure it with bobby pins, tucking the ends under the second braid.
- Take the second braid and wrap it around the back of your head, tucking the ends under the first braid and securing it with bobby pins.
- Adjust the braids as needed and use additional bobby pins to secure any loose sections.

7. Glamorous Ponytail:
- Brush your hair to remove any tangles and create a smooth texture.
- Use a teasing comb or brush to tease the hair at the crown of your head, gently backcombing it to add volume.
- Gather all your hair into a high ponytail, using your hands to smooth out any bumps or unevenness.
- Secure the ponytail with an elastic band, wrapping it around the base a few times to ensure a tight hold.
- To hide the elastic band, take a small section of hair from the ponytail and wrap it around the base, securing it with a bobby pin.
8. Retro Waves:
- Start with dry, styled hair or use a curling iron to create loose curls or waves.
- Create a deep side part in your hair, choosing the side that suits your preference.
- Take a section of hair and wrap it around the curling iron barrel, holding it for a few seconds before releasing.
- Continue curling small sections of hair all over your head, working your way from the bottom to the top.
- Once all the curls are done, gently brush through them using a wide-toothed comb or your fingers to create soft, retro waves.
- For extra hold, you can spray some hairspray lightly over the waves.


9. Twisted Side Bun:
- Brush your hair to remove any tangles and gather all your hair to one side.
- Divide the gathered hair into two equal sections.
- Take the first section and twist it tightly towards the back of your head, keeping it close to your scalp.
- Secure the twisted section with bobby pins, inserting them vertically into the twist to ensure a secure hold.
- Repeat the process with the second section, twisting it tightly and wrapping it around the first twist.
- Continue twisting and wrapping the sections until all your hair is formed into a bun shape at the side of your head.
- Secure the bun with bobby pins, tucking in any loose ends and making sure the bun feels secure.

10. Floral Updo:
- Start by creating a low bun at the nape of your neck.
- Gather all your hair and twist it into a bun shape.
- Secure the bun with an elastic band, making sure it sits low and close to your neck.
- Choose small flowers or decorative hairpins to add to the bun.
- Insert the flowers or hairpins into the bun, distributing them evenly for a floral accent.
- You can use bobby pins to further secure the flowers or hairpins if needed.


Comments
Post a Comment